之前工作中,对接口测试使用的是Postman或者手写测试网页的形式,每次更新接口,都要手动的更改测试网页的对应内容,如果测试网页已经给了其他同事,同样也要对他进行更新,耗时耗力,这里介绍一种自动生成Restful API文档的插件,可以实时方便的进行接口测试。
1.pom文件添加依赖
<!--集成Swagger-->
        <dependency>
            <groupId>io.springfox</groupId>
            <artifactId>springfox-swagger2</artifactId>
            <version>2.9.2</version>
        </dependency>
        <dependency>
            <groupId>io.springfox</groupId>
            <artifactId>springfox-swagger-ui</artifactId>
            <version>2.9.2</version>
        </dependency>
2.新建swaggerConfig.java类
package com.wshy.billcheck.config;

import org.springframework.context.annotation.Bean;
import org.springframework.context.annotation.Configuration;
import springfox.documentation.builders.ApiInfoBuilder;
import springfox.documentation.builders.PathSelectors;
import springfox.documentation.service.ApiInfo;
import springfox.documentation.spi.DocumentationType;
import springfox.documentation.spring.web.plugins.Docket;
import springfox.documentation.swagger2.annotations.EnableSwagger2;

/**
 * @author wshy
 * @data 2020/7/22
 **/
@Configuration //在springboot中加载配置文件
@EnableSwagger2 //加载swagger
public class SwaggerConfig {
    @Bean
    public Docket api(){
        return new Docket(DocumentationType.SWAGGER_2)
                .apiInfo(apiInfo()) // 调用apiInfo方法
                .pathMapping("/") //配置访问路径
                .select()
                .paths(PathSelectors.regex("/.*")) //匹配路径下的方法
                .build();

    }


    private ApiInfo apiInfo () {
        return new ApiInfoBuilder () //文档说明
                .title ("对账前置系统测试")
                //文档版本说明
                .version ("1.0.0")
                .description ("对账前置支付接口测试")
                .license ("Apache 2.0")
                .build ();
    }
}
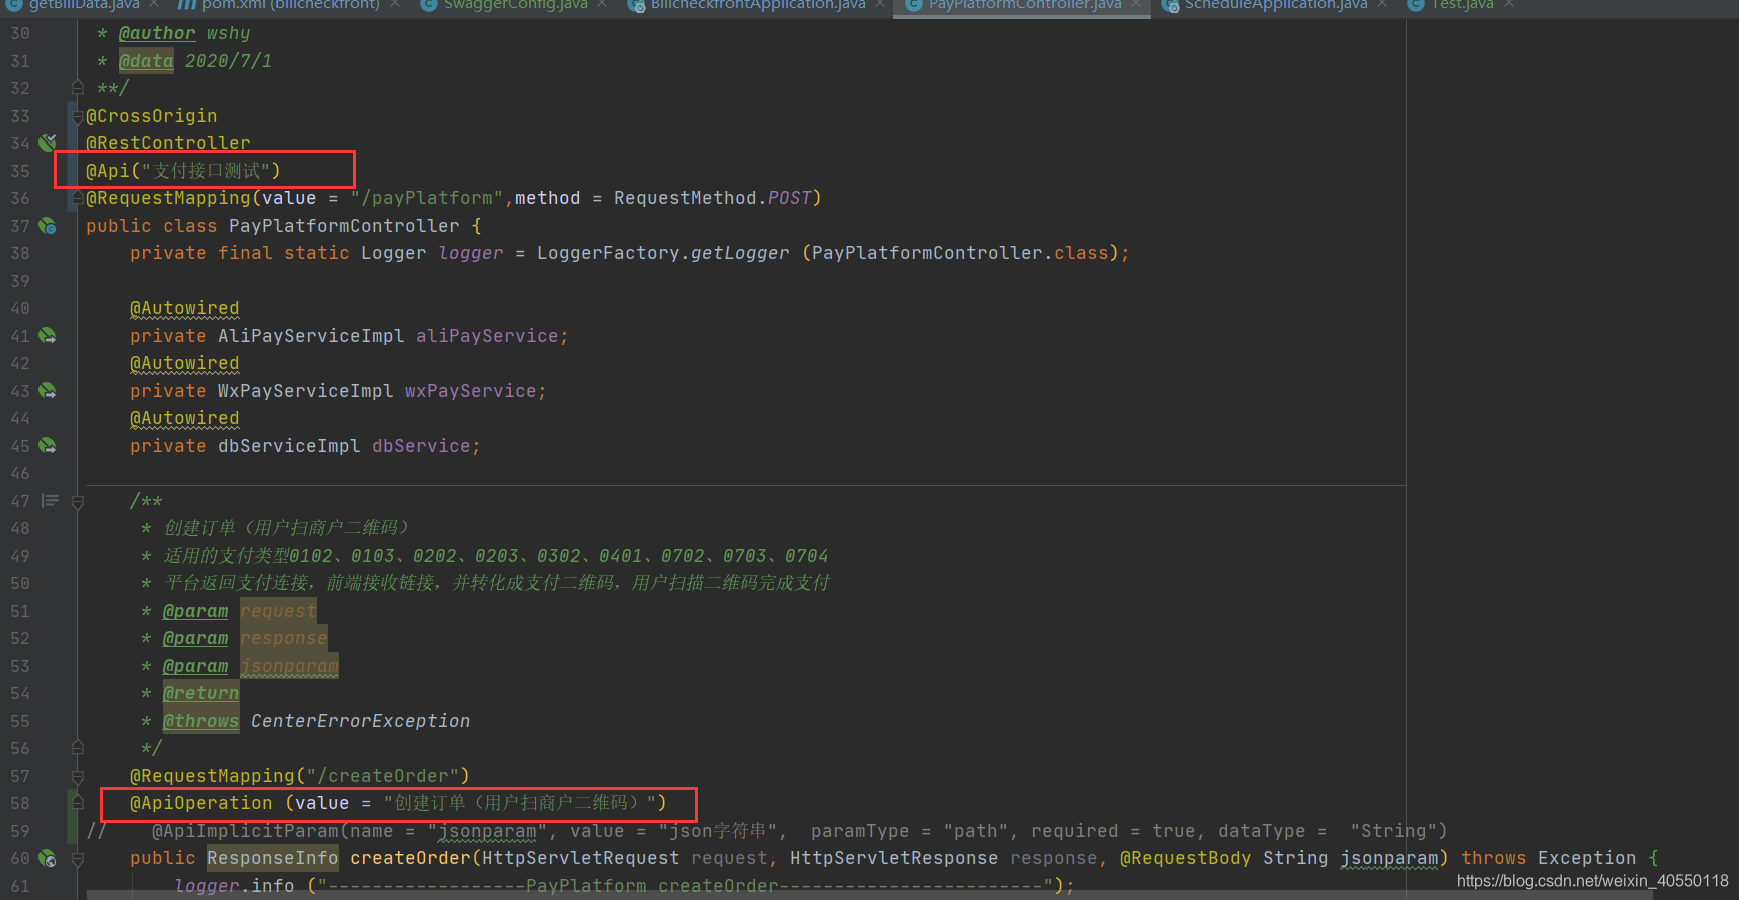
3.controller添加注解
4.启动服务并访问
http://127.0.0.1:9001/swagger-ui.html#/


文档信息
- 本文作者:ShanYing Wang
- 本文链接:https://982837387.github.io/SY-Wang/2020/01/11/SpringBoot%E9%9B%86%E6%88%90swagger2/
- 版权声明:自由转载-非商用-非衍生-保持署名(创意共享3.0许可证)